Wednesday, October 29, 2008

Sepia Scenes #2


Welcome to our second posting of SEPIA SCENES!


Photobucket

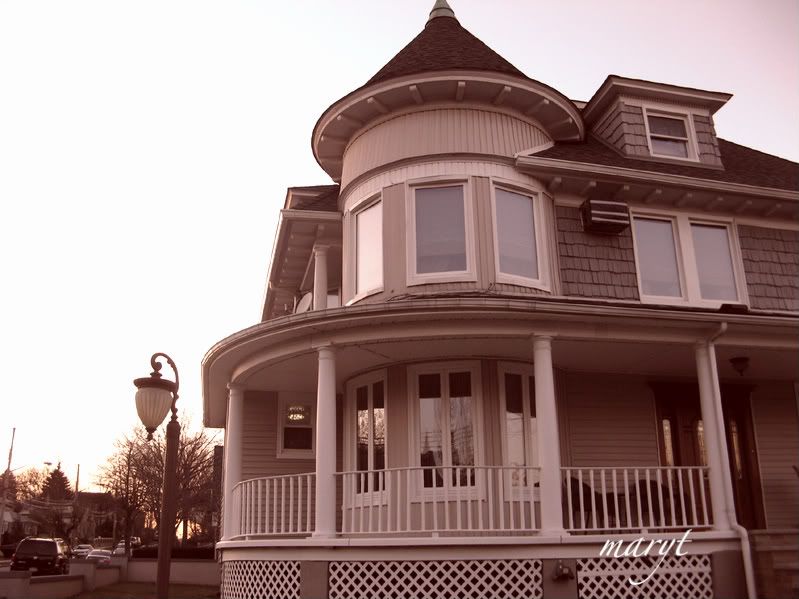
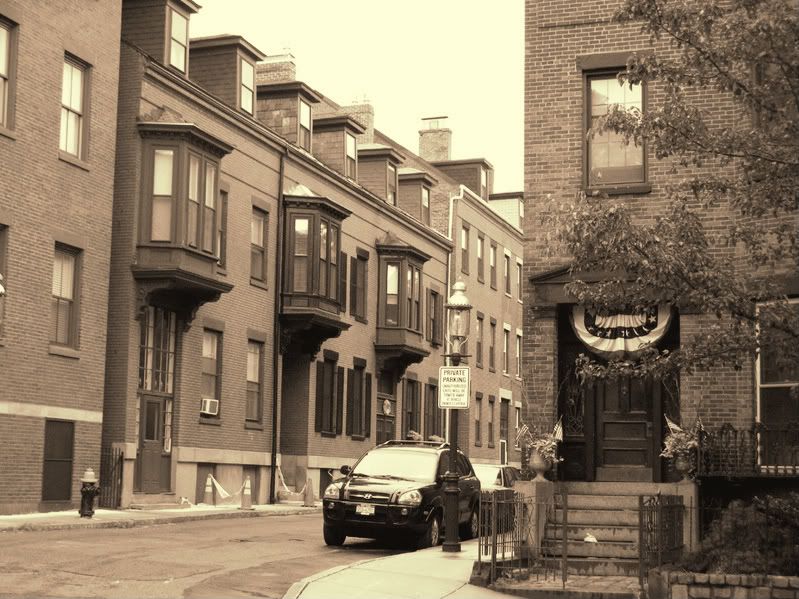
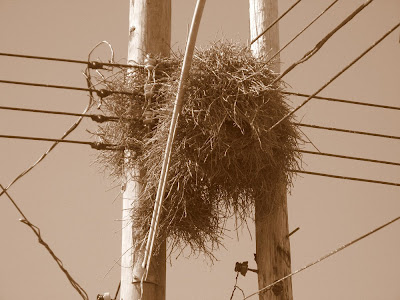
A warm, pinkish sepia applied to a color photograph using Photobucket photo-editing software. I faded the effect a bit because at first glance I thought it was too pink. The sky was blue in the upper right in the original.


I think as we go on you'll see that there is a lot of variety in sepia tones.

Here is the same picture using another method of creating sepia:


This was done entirely in Adobe Photoshop 7. The effect is browner with less pink.

Which do you prefer? Let me know in the comments. Don't forget to sign Mr. Linky and to visit the other participants.


Thanks for joining us in this new exciting meme!

Oh and BTW, Mac users can used iPhoto to edit their photos.

theteachconfused smileys


Sunday, October 26, 2008

New Badges for the Sepia Scenes Meme

Photobucket

Photobucket

Photobucket

Choose any of the new badges above to use on your Sepia Scenes post.

Remember you can post at 5 0'clock Wednesday Evening EST for Thursday.


theteach

Wednesday, October 22, 2008

Sepia Scenes # 1


Hey, bloggers, it's our first SEPIA SCENES post! Here's my contribution:


Photobucket

Boston Massachusetts, July 2008*

Don't forget to link back here from your site and to sign Mr. Linky.

Please leave a comment if you can.

Use the SEPIA SCENES badge if you like.

*Color photo, applied black & white effect, then bronze effect in Photobucket. Then I used the FADE slide to tone down the bronze effect.


Thank you Elaine for the new "Sepia Scenes" button. Feel free to take it and post it on your sidebar.
theteach


How to apply a sepia tone to a photograph


Black & white photo changed to a pale gray sepia


Color photo changed to a warmer sepia

Above are some examples of photographs I gave a sepia tone. As you can see sepia can look differently depending how you apply the effect.

Like black and white film, sepia toning also adds a sense of class and timelessness to photos. In fact, the brown scale allows the picture treated in sepia to adopt the same feel as the original sepia pictures of long ago. This bridge of time lends sepia-treated portraits a classic, enduring look.

Most editing software can easily render a color image in the warm browns of sepia toning. Similarly, digital cameras often include a sepia tone setting. To use sepia tones with a digital camera, just set the camera to “sepia” and start taking pictures. However, because the quality of a digital camera’s sepia setting varies, it may not necessarily produce pictures equal in quality to the original sepia tone process.

If you find this to be the case, then use your digital camera to take color pictures.

The color pictures can later be transformed into sepia with imaging software. By using graphics software to instill sepia, you can adjust the brightness and contrast of the resulting image. Often, even the most basic photo editing programs include a sepia tone option.

Here are instructions below for 2 free online photo editing programs (just log on and use their software) and one free imaging program you can download and use on your computer.


To use Photobucket or Flickr online:

  • Upload photos by clicking on upload, selecting the files to upload and uploading.
  • Click on EDIT image
  • Before you change your photo to sepia you can autofix, adjust brightness, contrast and many other characteristics of the photo.
  • Locate the SEPIA button or tab and click. Open advanced Options and FADE the sepia effect to your liking.
  • Click SAVE/OK


  • Download for free Picasa 3 software
  • Open software and select your photo from the files/folders on the left.
  • Double click on your photo.
  • In Edit Mode, click on Effects, then click on Sepia or Warmify
  • Then you can Sharpen, adjust Saturation, Brightness, etc.
  • Save your changes

If you own the photo-editing software called Adobe Photo Shop or Photo Elements, follow these steps:

For Adobe Photo Shop:
  1. Open the image in Photoshop.
  2. If the image is in color, go to Image > Adjust > Desaturate and skip to step 4.
  3. If the image is in grayscale go to Image > Mode > RGB Color.
  4. Go to Image > Adjust > Variations.
  5. Move the Fine<-->Coarse slider down one notch less than the middle.
  6. Click on More Yellow once.
  7. Click on More Red once.
  8. Click OK.
Tips:
  1. Use the Save... button in the Variations dialog to save the sepia tone settings. The next time you want to use it, just load the saved settings.
  2. Use Desaturate and experiment with Variations to apply other color tints to your photos.
For Photoshop Elements:
  1. Open the image in Photoshop Elements.
  2. If the image is in color, go to Enhance > Adjust Color > Remove Color and skip to step 4.
  3. If the image is in grayscale go to Image > Mode > RGB Color.
  4. Go to Enhance > Adjust Color > Color Variations.
  5. Move the Adjust Color Intensity slider down one notch less than the middle.
  6. Click on Decrease Blue once.
  7. Click on Increase Red once.
  8. Click OK.

Tips:

  1. Experiment with Color Variations to apply other color tints to your photos.

There are many other photo editing programs you can use. If you have trouble with these or other programs feel free to leave a comment and I'll try to help you.


Create your post and upload it to your blog.

Make sure you link to SEPIA SCENES from your blog post.

Come back to this blog and sign in to Mr. Linky and leave a comment.

I will post my photo at 5:00 PM EST on Wednesday evening. Mr. Linky will be ready then too. :)

Looking forward to seeing your wonderful photos!

* FEEL FREE TO USE THE SEPIA SCENES BADGE ABOVE ON YOUR POST.

maryt/theteach


Monday, October 20, 2008

Welcome!


Welcome!
to our new meme, SEPIA SCENES. For a long time I've been thinking about another meme to accompany RUBY TUESDAY and I think I've got it!

On Thursday of every week ( actually it will be the night before) I will post a photo in sepia. It will be anything - a landscape, a portrait, a city scene, a country scene - ANY photo that I've taken but it will be in SEPIA.

You then can post a SEPIA photo anytime during the week. When you post your photo, you'll then come back here and sign Mr. Linky so that I and the other participants can go see your photo.

What do you say? Do you like the idea?

~~~~~~~~~~~~~~~~~~~~~~~~~~~~~~~~~~~~~~~~~~~~~~~

SEPIA can be produced very easily in many digital cameras or it can be produced using photo editing software.

Software, such as Photoshop, Photo Elements, The GIMP (free online download), offers control over the sepia achieved (there is no single color known as “sepia”—the term covers a range of yellow and red mixtures). Simpler photo-editing software usually has an option to sepia tone an image in one step.

More sophisticated software tends to implement sepia tones using the duotone feature.

~~~~~~~~~~~~~~~~~~~~~~~~~~~~~~~~~~~~~~~~~~~~~~~~~~~~

And if you think you need help producing a sepia-toned photo I'll help you.

This coming Thursday (or at 5 o'clock EST Wednesday evening) I'll post a sepia photo and simple directions for creating SEPIA photos.

This is going to be so much fun! I hope you'll join me!

Click the Mr. Linky below, sign in, and leave a comment if you think you might like to join or if you have any questions...

theteach