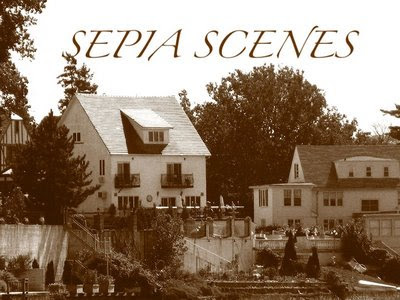
The technique for our
Sepia Scenes post for today is called
HALF SEPIA.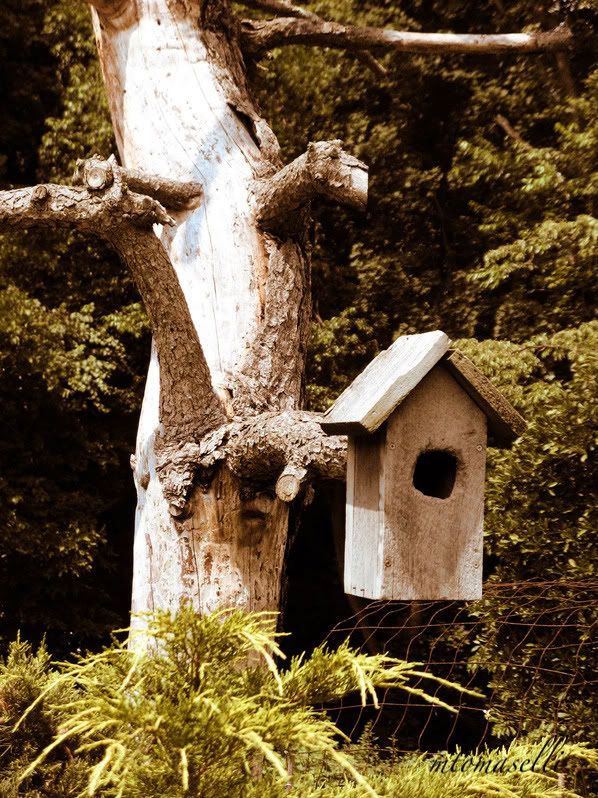
Dontcha just love it?
How to do
Half Sepia:
Step 1 Open a photo inside Photoshop. The half sepia photo effect works on most photos but is most useful for images with high saturation.
Step 2
In the Layers palette, click on the  button and select Hue/Saturation.
The Hue/Saturation tool will appear. First, checkmark the Colorize option near the bottom right corner. Copy the settings from the image below then click OK.
Your image should now have a bright sepia tone.
Step 3
We will now work on the layer mask of the Hue/Saturation adjustment layer. Make sure that you have the layer mask selected by clicking on the layer mask thumbnail in the Layers palette.
Choose Image > Apply Image and use the default settings. The only setting that you may need to adjust is the Invert setting. If you leave the Invert option unchecked, the sepia tone effect will only be visible in the brighter areas of your image. If you enable the Invert option, the sepia tone will be visible only in the darker areas of the image.
Step 4
Now we'll add a black and white adjustment layer. In the layers palette, click on the button and choose Black & White. If you are using Photoshop CS2 or older, you will not have the Black & White menu option. Instead, choose Channel Mixer.
The Black and White or Channel Mixer (If you're using Photoshop CS2 or older) settings will appear. Simply click OK with any settings. We'll go back to edit the settings later.
Change the blending mode of the new Black & White or Channel Mixer adjustment layer to Soft Light.
Double click on the Black & White or Channel Mixer adjustment layer thumbnail to bring back the settings. Adjust the settings while looking at the preview to get the results that you desire.
I went for a little higher contrast that you might like.
Why don't you give the HALF SEPIA effect a try using whatever photo editing software you have?

This a pencil drawing of me done in Montmartre years ago by a street artist. He did it on gray paper in black pencil. I like it in sepia!
Don't forget to leave comments and please sign Mr. Linky!
theteach